Big adventures with the Pi Pico

In typical fashion, when I discover something shiny and new, I often fall hard and fast directly down the rabbit hole.
After watching some interesting videos of projects people had made with micro-controllers such as the ESP32 and Raspberry Pi Pico, I immediately jumped onto Google to find out where I could get my hands on one. Inspiration struck me and I began to think of ideas for projects immediately.
After spending some time researching what I should get and what I would need to get started, I ended up buying most of my items from a local Australian company called Core Electronics who had a great variety of items to choose from, including their own beginner-friendly plug-and-play modules from their own line of products called PiicoDev. As for a few other minor things, I ended up making a few visits to Jaycar, an Australian version of RadioShack.
See below for a more comprehensive list of stuff that I bought to play with.
What I ordered
- Raspberry Pi 2WH (I got the version with the pre-soldered headers as I don’t have a clue how to solder…yet)
- A solderless breadboard (see above point)
- Waveshare I2C LCD 16x02 Character Display
A variety of Core Electronics' PiicoDev modules:
- PiicoDev OLED Display Module (128x64) SSD1306
- PiicoDev Atmospheric Sensor BME280
- PiicoDev Buzzer Module
- PiicoDev LiPo Expansion Board for Raspberry Pi Pico
- PiicoDev Platform for Raspberry Pi Pico
And finally, some mixed standard components:
- A mixture of LED lights
- A bunch of resistors (200-400 ohms)
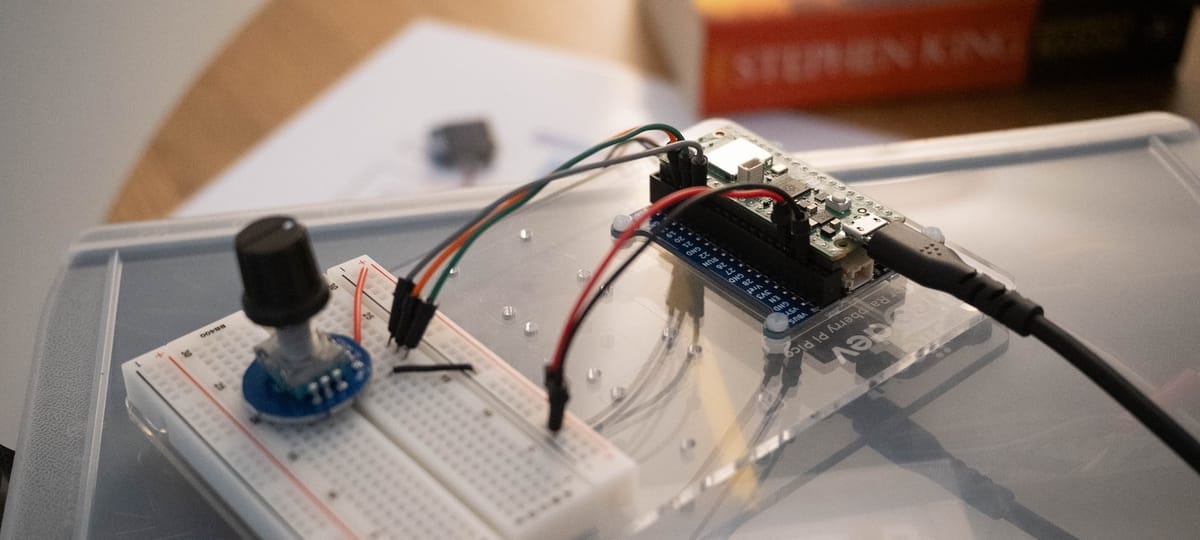
- A potentiometer
- A rotary encoder with a click button
Blinking LEDs
Following in the footsteps of millions of other beginners just like me, my first success was making the onboard LED blink on and off. Not really much of an accomplishment, but this was something to get my feet wet and get familiar with using Thonny, the de-facto IDE for programming on the Pi Pico.
Visual Studio Code vs. Thonny?
On a side note, I found Thonny pretty crappy to use overall on my Mac. Some of my gripes include:
- It doesn't seem to respect standard macOS shortcuts for moving the cursor between words and going to the start/end of a line of code. Super frustrating!
- The 'Files' dialogue would often fail to appear every time I launched Thonny; yet in the menu bar, the 'Files' option was still ticked. Clicking it again jolted Thonny into action and made it reappear. Also pretty annoying.
- For a lazy programmer like me, I also really missed intelligent code auto-completion and syntax highlighting from more modern IDE's like VS Code.
The one thing I will admit Thonny does better is that it's pretty much plug-and-play. You install Thonny, you put Micropython on the Pico, install whatever libraries you need, and you're done - you can immediately start programming!
In comparison, getting VS Code working with the Pico took me longer than it should've. While Raspberry Pi do offer an official VS Code extension, it felt a bit clunky to get working. And as far as I can tell, there's no native way to manage files on the Pico itself like there is within Thonny; for example, if you needed to install a Python library or wanted to upload arbitrary code to the Pico's storage. Confusingly, you can view the installed libraries (seemingly over Wi-Fi only...?) but cannot install any new ones. I still find myself reaching for Thonny to install new Micropython libraries to the Pico.
Once it's setup and working however, for me personally, there's no beating VS Code, particularly with the Github Copilot extension that can help you write code or debug problems.
The next step was to plug some of the LEDs I had bought into my breadboard and see if I could get these to blink on/off and try to control the LED brightness via PWM. Oh, and I wanted to see if I could show the current state of the LED cycle on the OLED module.
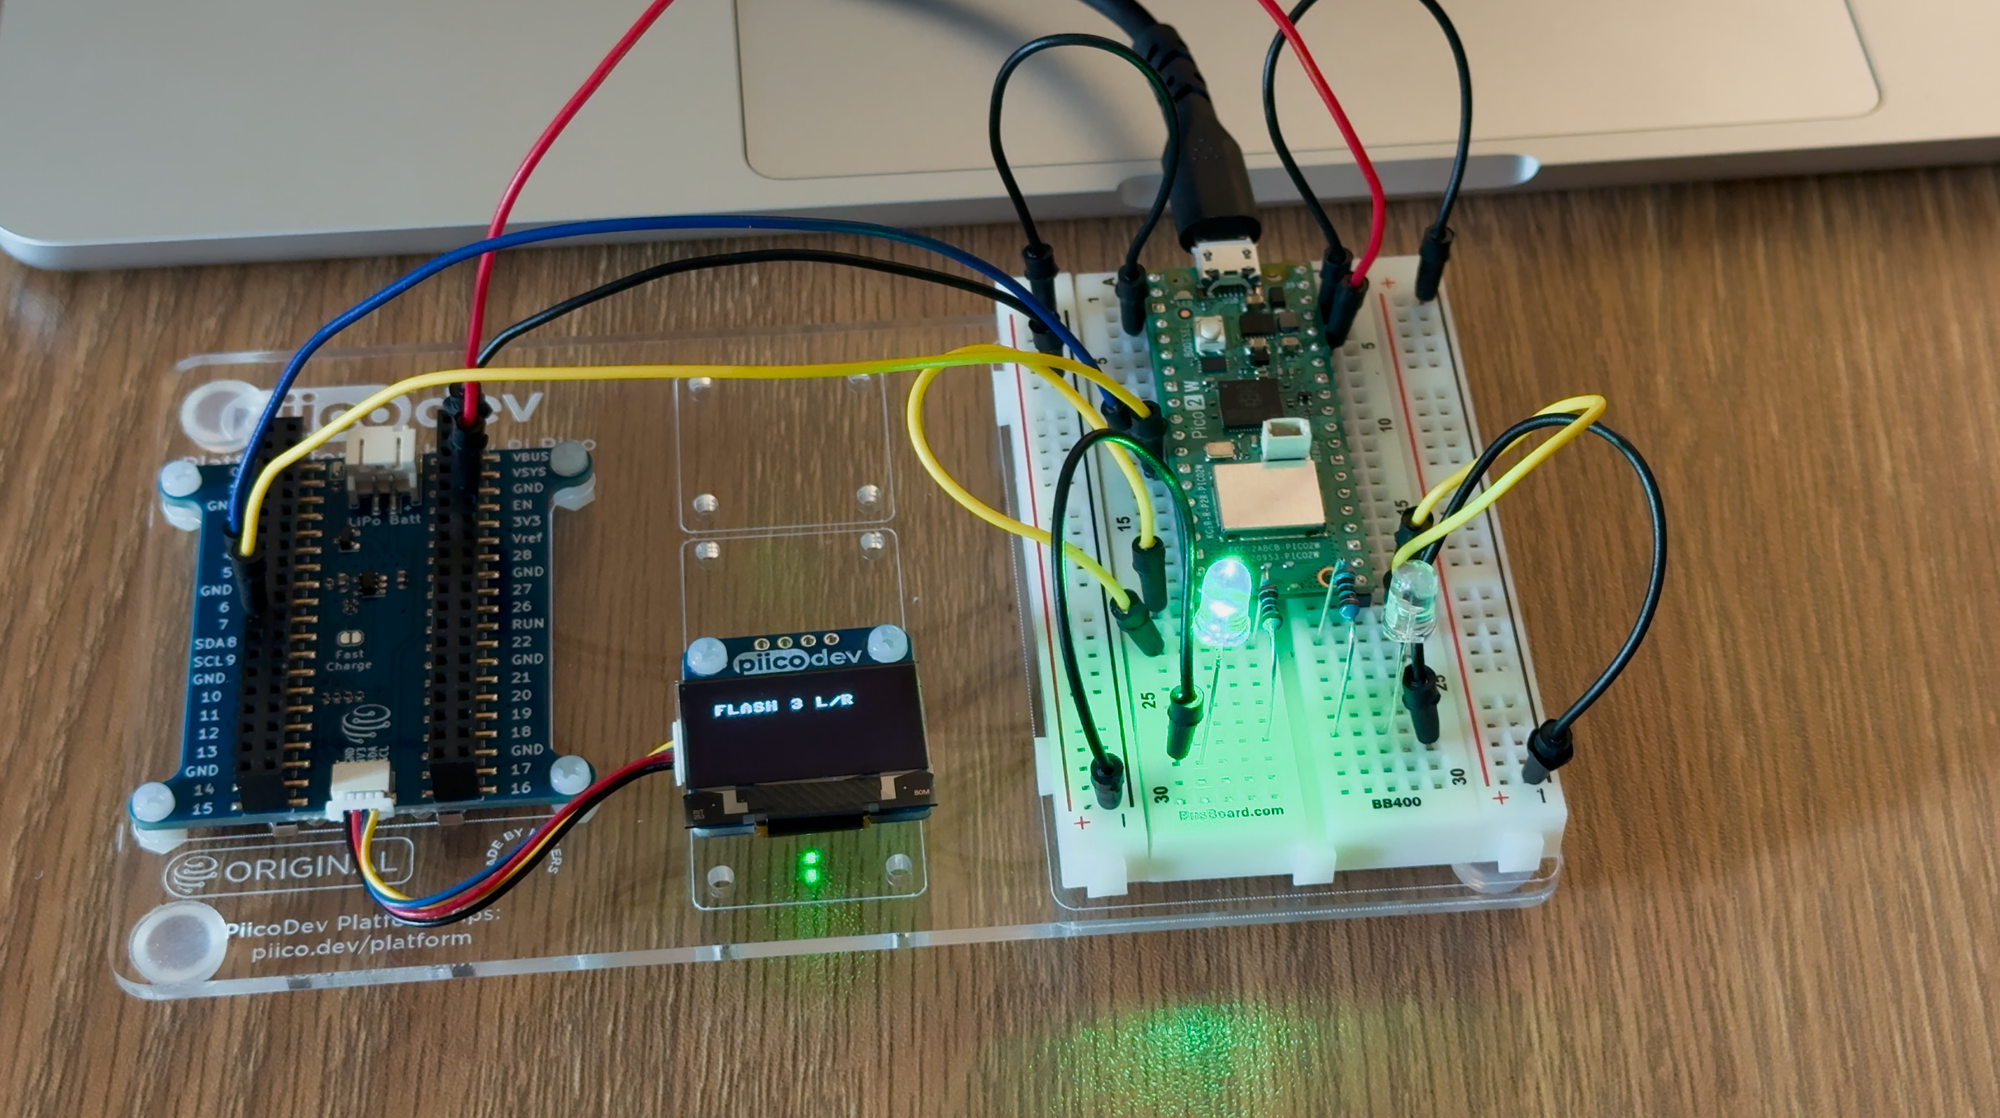
Success! I'd basically just made a really crappy, unreliable, inconvenient set of Christmas lights.
Jokes aside, it was still a worthwhile starter project. I spent a couple of hours just on getting this working, learning the basics of getting code onto the Pico, wiring up my circuit on the breadboard, controlling the LEDs via the GPIO pins, and finally how to connect the OLED module and print text to it via I2C.
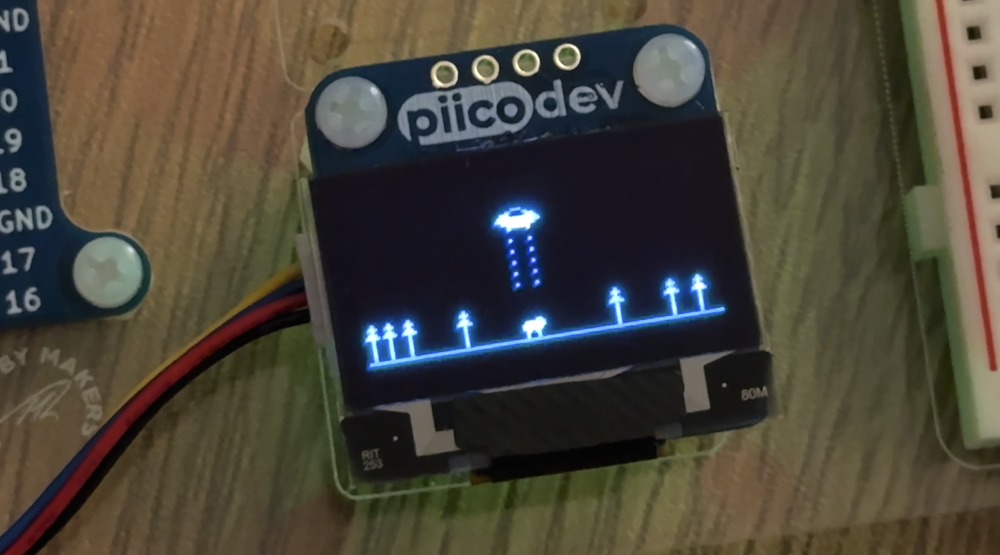
UFOs and sprites 🛸
The next thing I wanted to try and accomplish was to make a short sprite animation on the OLED screen. In trying to brainstorm something that could be reasonably depicted on the 128x64 pixel black-and-white display, an idea hit me; a UFO abducting a cow, then zooming off into the distance. Perfect!
I ended up turning to using VS Code Copilot to help me structure a basic script that could cycle through different "phases", for example:
- Phase 1: the UFO flies in from the left
- Phase 2: the UFO lowers it's beam
- Phase 3: the UFO lifts the cow into the ship and raises the beam
- Phase 4: the UFO zooms off to the right
Then I mocked up some basic sprites and represented these as arrays of byte objects. All in all, I think it turned out pretty well!
Temperature and humidity sensor
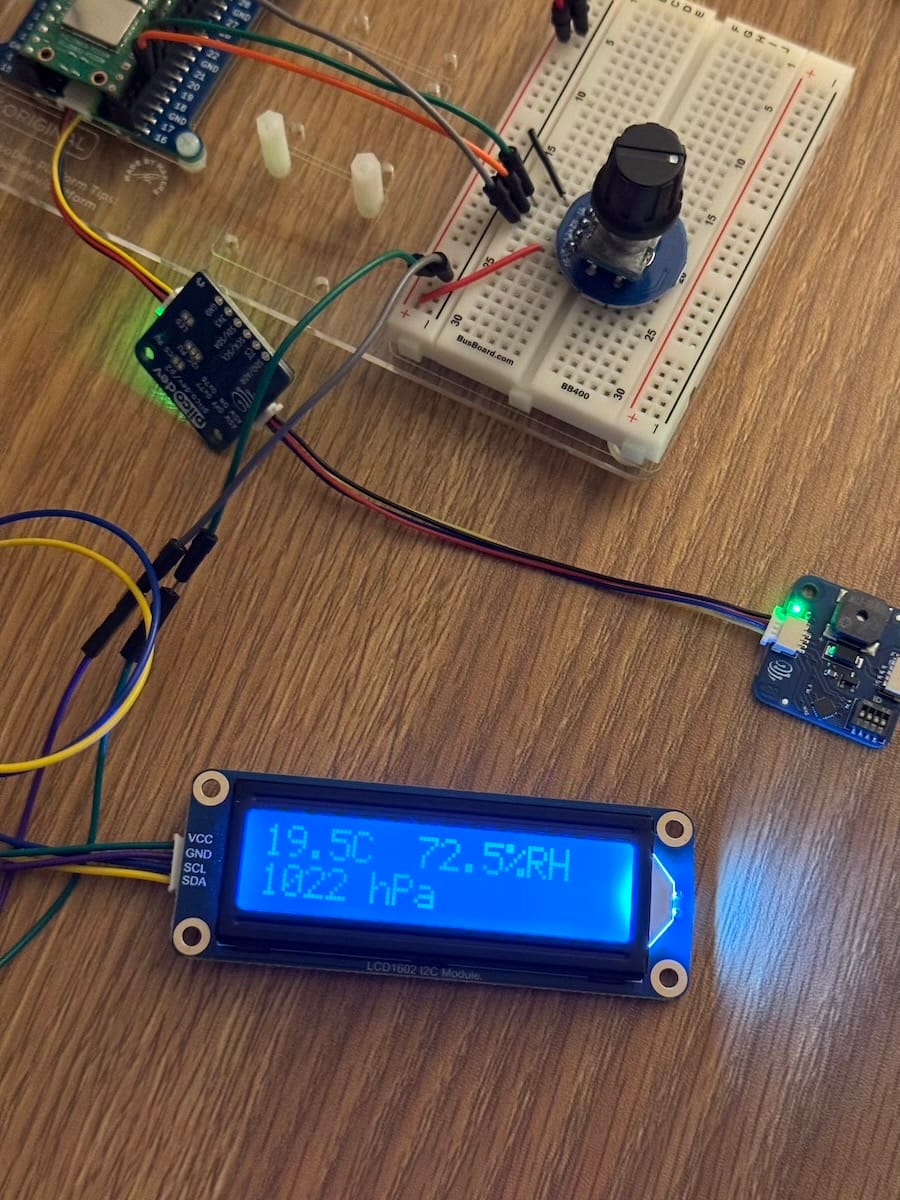
I was able to get a readout of the temperature and humidity from the BME280 sensor using the very handy starter scripts provided by Core Electronics on their Github repo.
I also had to lookup some starter scripts for the Waveshare LCD display in order to get these working, as well as do some troubleshooting to figure out why I could either have the temperature sensor or the LCD display plugged in, but not both at the same time, which turned out to be some sort of I2C collision; I think I resolved this by connecting the LCD to a different set of I2C pins on the Pico so they were connected to different I2C buses.
Next steps?
Not sure at this stage; I had a lot of fun tinkering and just learning about how to make simple electronic circuits. I have a couple of project ideas but I think I might need to revisit these when I have 1) more time 2) a soldering iron and 3) a 3D printer.
Watch this space! 😁